How to Clean a Wheelie Bin Without a Hose
Your wheelie bin is a bigger (and often smellier) version of your kitchen bin. Just like any other bin, your wheelie needs cleaning to keep germs, nasty odours, and pests at bay. Online cleaning guides will tell you to clean a wheelie bin with a hose. Don’t have one? No problem.
Do I really need to clean my wheelie bin?
Yes! You need to disinfect your bin regularly otherwise it will start to smell bad and become a breeding ground for germs. The rotting waste and moisture make it a perfect environment for maggots to thrive. And if that wasn’t bad enough, a dirty bin is more likely to attract pests like flies and foxes.
What do you need?
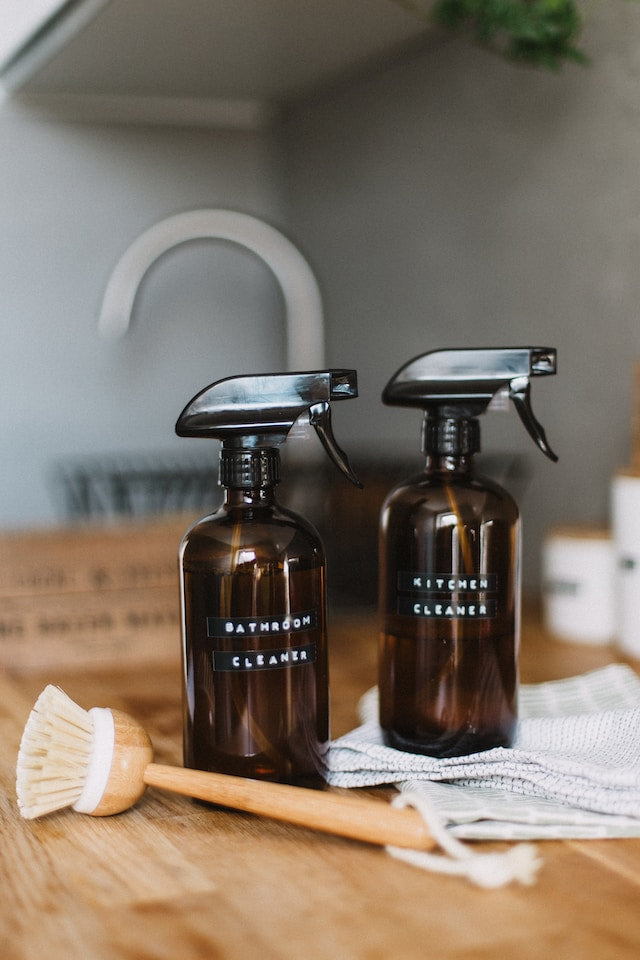
First things first, prepare what you’re going to need. We’d recommend:
- Gloves - you don’t want to let your hands get anywhere near the icky bin debris.
- Tough bristled brush - to scrub off any stubborn debris.
- Hot and cold water
- Dustpan and brush
- Bucket
- White vinegar
- Washing up liquid
- Soft-headed mop
- Cloth
- Disinfectant spray
A hose or pressure washer is optional. If you don’t have one, you can still give your bin a good clean.
Clean a wheelie bin step by step
Step 1
Lie your empty wheelie on its side, preferably near a drain where the water can run off.
Step 2
Give the (interior) sides of the bin a scrub with a tough bristled brush. Use a dustpan and brush to collect any debris and put it in a rubbish bag.
Step 3
Stand the wheelie bin upright. Use a bucket to pour hot water into the bin. This should get rid of any ‘bin juice’ that’s stuck at the bottom.
Step 4
Empty the water from the bin. Fill your bucket three-quarters of the way up with warm water, a cup of washing-up liquid, and half a cup of white vinegar. Give it a stir to mix it up, then pour it into your bin.
Step 5
Grab your mop and mop the inside of the bin. Clean the inside of the lid with a cloth dipped in the hot water/washing up liquid mixture.
Step 6
Empty the water from the bin. Stand the bin upright again then rinse the bin with a bucket of cold water. Tip the bin on its side to let the water run out.
Step 7
Next in our how to clean a wheelie bin guide, it’s cleaning the outside of the bin. Fill a bucket with warm water and washing-up liquid. Use a cloth to give the outside of the bin a good clean.
Step 8
Once it looks squeaky clean, give the inside and outside of the bin a good blast with a disinfectant spray.
Step 9
Let the bin air dry for best results.
How to keep a wheelie bin clean
Now your bin is clean, you need to keep it that way. Here are our top tips for a clean and fresh-smelling bin.
- Give your wheelie a good regular clean.
- Try to reduce your food waste by recycling, composting, and making more savvy supermarket choices. Less organic waste in your bin means less odour!
- Don’t position your bin in direct sunlight. As waste heats up, it decomposes quicker which means more bacteria and more nasty smells.
- Rinse the packaging before you put it in your recycling bin.
- Put baking soda and essential oils in the bottom of your bin to absorb and neutralise odours.
So there you have it, an easy guide to how to clean a wheelie bin, step by step, and no hose needed! Hopefully, if you follow the steps in our guide, that will mean the end of having to deal with a sticky, smelly bin. If you struggle with getting your bin nice and fresh, then why not find a brand new one. We have a full collection of blue wheelie bins, green wheelie bins and so many more!
For more interesting wheelie bin tips and tricks, check out the rest of our blog